Locally providing the runtime system installation of the target system
For C debugging an application on a remote target system, the logi.CAD 3 project with the application needs to contain a copy of the →runtime system as the runtime system exists on the target system. Hence, the steps of this section are necessary as well, if the used version of the runtime system has changed since the last debugging session.
![]() The steps of this section are possible in an extended version of logi.CAD 3 only. They are not required for the built-in PLC!
The steps of this section are possible in an extended version of logi.CAD 3 only. They are not required for the built-in PLC!
Creating the connection to the target system by using "Remote System Explorer"
Open the →perspective Remote System Explorer. Example: menu Window, Open Perspective, Other... and Remote System Explorer
In the Remote Systems →view: Open the context menu, select New and Connection...
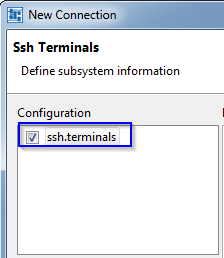
In the dialog New Connection, define the following settings and then always click Next >. On the last page, click Finish.
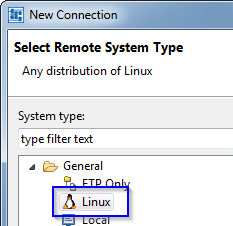

Select Linux as System type.
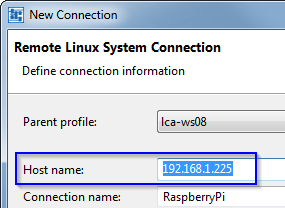
Under Host name, enter the IP address of the target system.
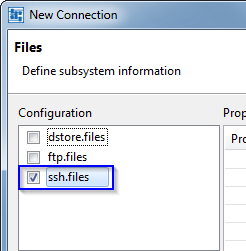
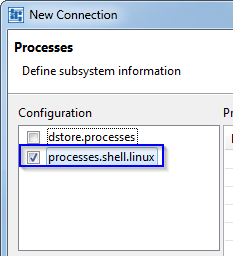
Under Connection name, you might want to change the suggested name for the connection, before clicking Next >.In the following pages, always select the ssh or Linux variant of the configurations.
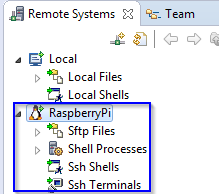
Result: The Remote Systems view displays an item for the created connection.
Copying the runtime system folder into the project
Expand the item Sftp Files in the Remote Systems view.
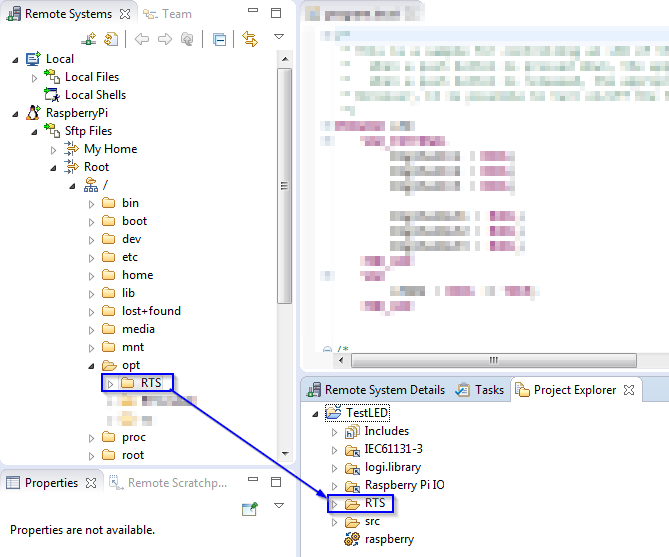
Go to the folder into which the runtime system has been installed on the target system.
Example: If you have installed the runtime system according to the tutorial, you will find the runtime system in this folder:
Target system
Installation folder
Raspberry Pi
/opt/RTS
For authentication, enter the user and the corresponding password (e.g. user root).
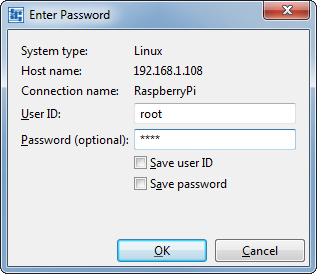
Click Yes as answer to any prompts.
Add the project explorer to the current perspective. Example: menu Window, Show View, Other... and Project Explorer (in the group General)
Press and hold the Ctrl-key, then drag the runtime system folder from the Remote Systems view into the project. This copies the runtime system folder into the project.
Keep the perspective Remote System Explorer open. You will need this perspective for later steps.