Loading the visualization project onto the target system
Loading the visualization created in PROCON-WEB IoT Designer onto the target system
In the project tree of the Designer, expand the item VisuDesigner.
Double-click the item Startpage.
Result: The ribbon pane of the designer switches to the tab PROJECT ENVIRONMENT.Select the target system for the transfer of the visualization:
In the tab PROJECT ENVIRONMENT, click Create. Confirm or modify the export options displayed in the dialog.
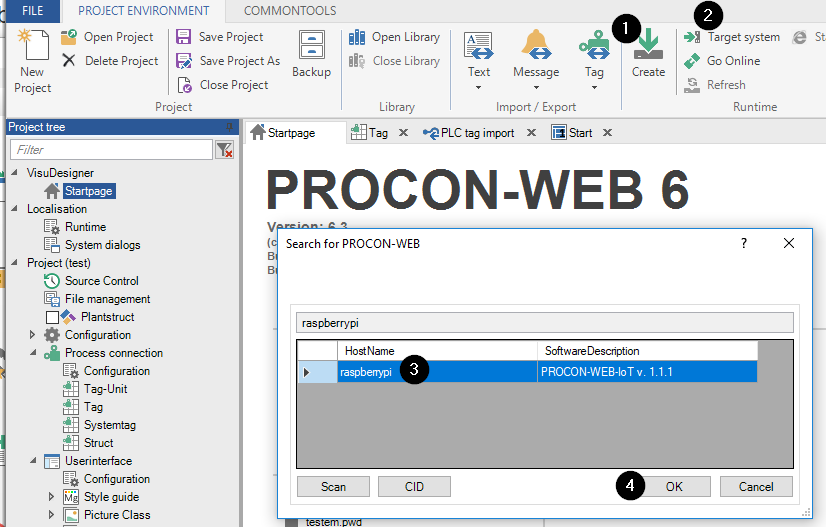
In the tab PROJECT ENVIRONMENT, click Target system.
In the dialog Search for PROCON-WEB, select the appropriate target system and click OK.
If the target system is not listed in the dialog, click Scan and check whether the target system will be found.
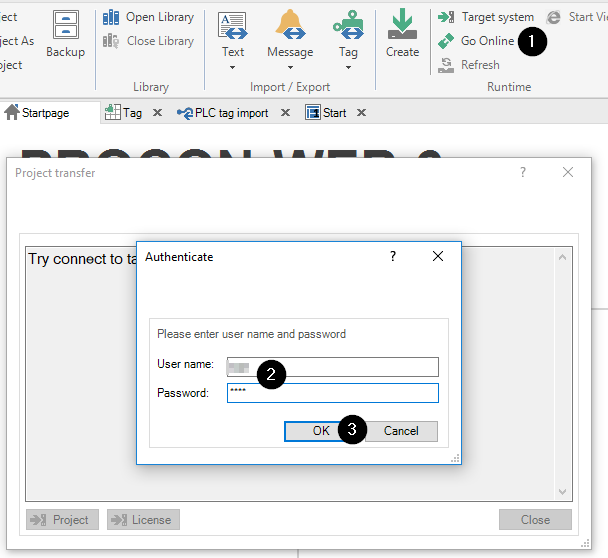
In the tab PROJECT ENVIRONMENT, click Go Online. In the dialog, authenticate as appropriate user with the password and click OK.
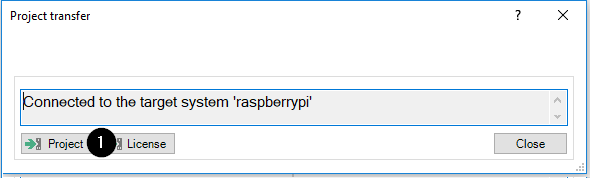
If the Designer succeeds in establishing the connection to the target system, click Project in the dialog Project transfer.
Displaying the visualization on the target system
After the visualization has been loaded onto the target system, you are able to display it as follows:
Start a web browser.
In the address bar of the web browser, enter the address of the target system with the port 16700.
Example for target system with IP address 192.168.1.225http://192.168.1.225:16700/Result: Now the visualization communicates bidirectional with the logi.CAD 3 application. That means that you are able to change the values of variables in the visualization and the changed value is visible in logi.CAD 3 and vice versa.